


Cannabis: Indoor Grow Report - RQS Northern Lights Automatic

In the Netherlands, it isn’t possible to grow outdoor-weed in any season expect the middle of summer. Thanks to the Sirius Growshop, I am the proud owner of a few necessities that allow me to grow indoor weed any time I want to. Keep reading if you want to know how I, an absolute beginner in growing cannabis, harvested over 100 grams of tasty, organic weed!
One disclaimer I have to make: There are many different opinions on the best method for cannabis. I did not engage in any kind of training or special technique in my grow – some would consider that stupid – but as a beginner, I decided to just let my plants grow normally and as natural as possible. In the end, the process was far from perfect, and I learned a lot of things I can do better in my next growing cycle!
My Growing Equipment – everything you need available at Sirius’ Growshop
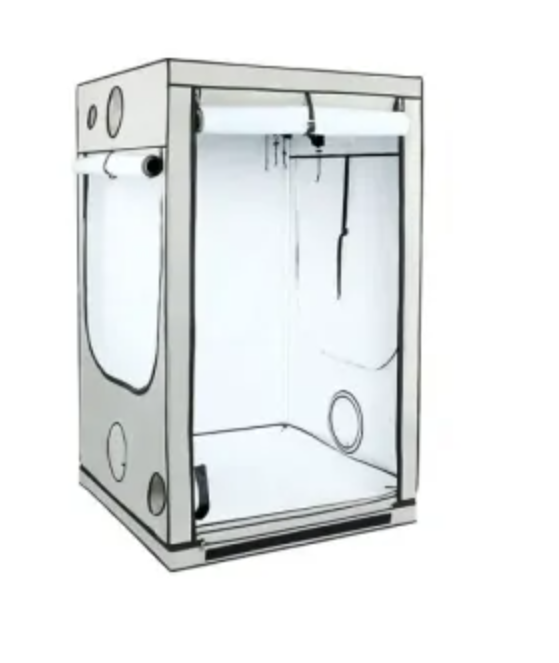
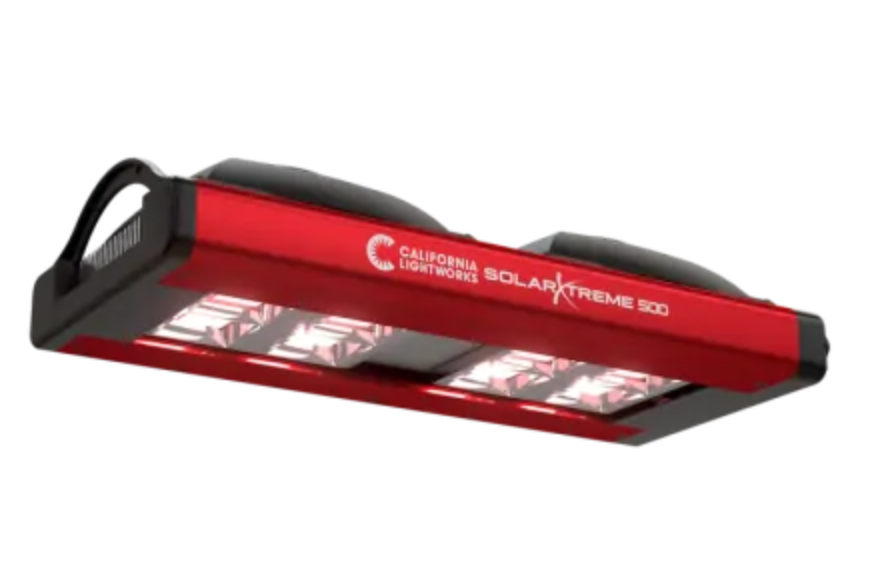
If you want to grow weed indoors, you have to get a few supplies to make it possible. I use a 1m2 tent together with a 100w LED-lamp. 100w is not that much, but sufficient for me. If you want to maximize your yield you should go for 275W or even 500W (an old rule says that you can harvest ~1 gram per W).
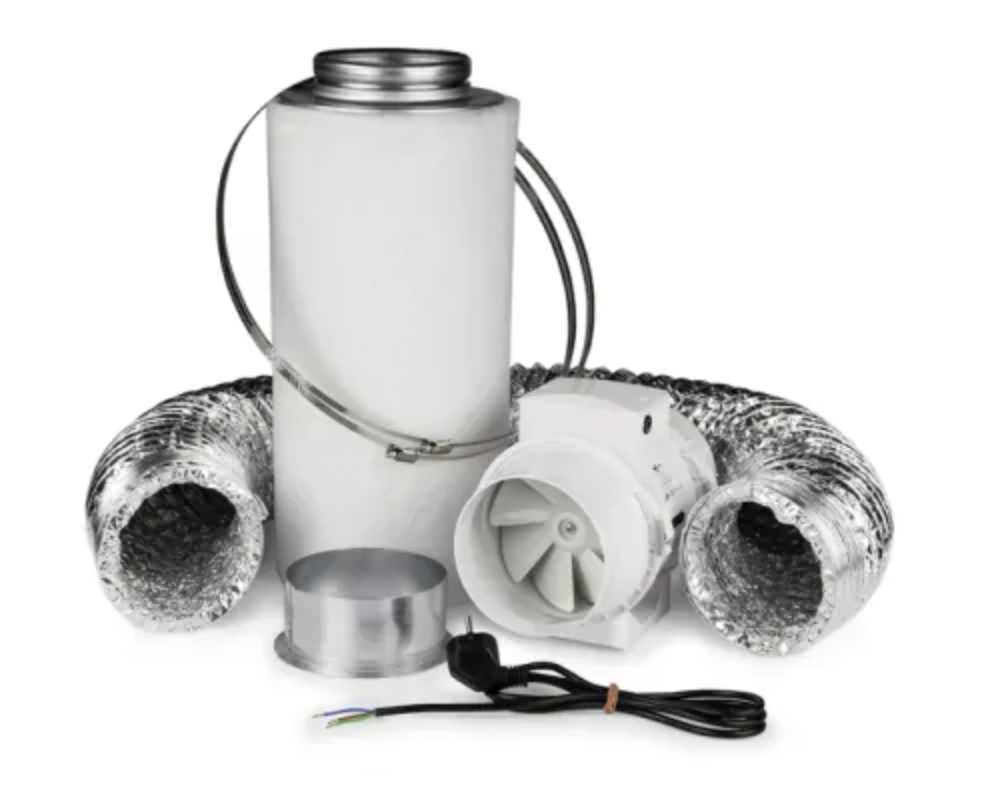
Additionally, my tent is equipped with a good InLine Fan and a ventilation tube, to keep the right airflow, and an active carbon filter to reduce the smell. You can order the latter three in a convenient basic equipment set in the Sirius webshop!
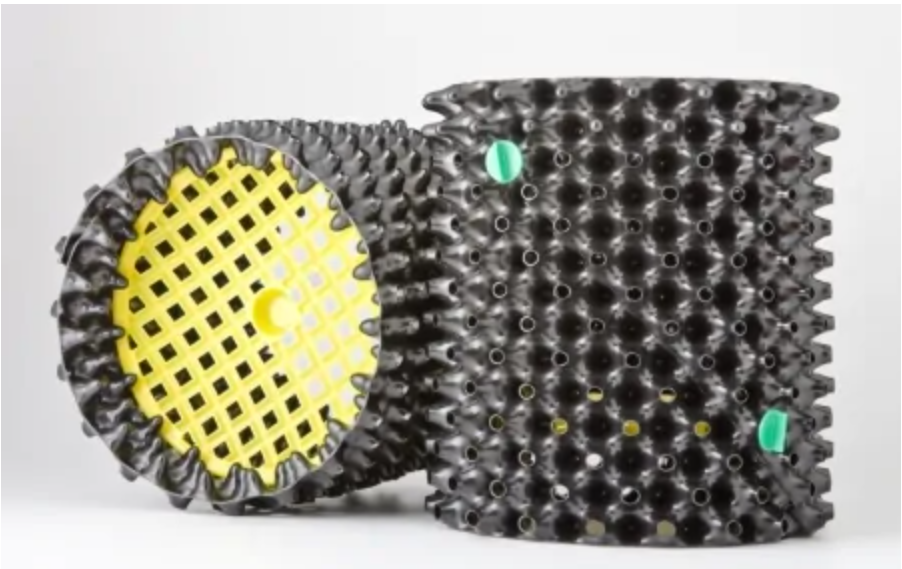
I also recommend an analogue timer to set the right lighting hours, and a thermo-/ hygrometer to ensure the right climate conditions in your tent. Some pots are also necessary. You should look for ones that allow some air flow, so that the soil can appropriately breathe. These airpots from the Sirius growshop are perfect for that!
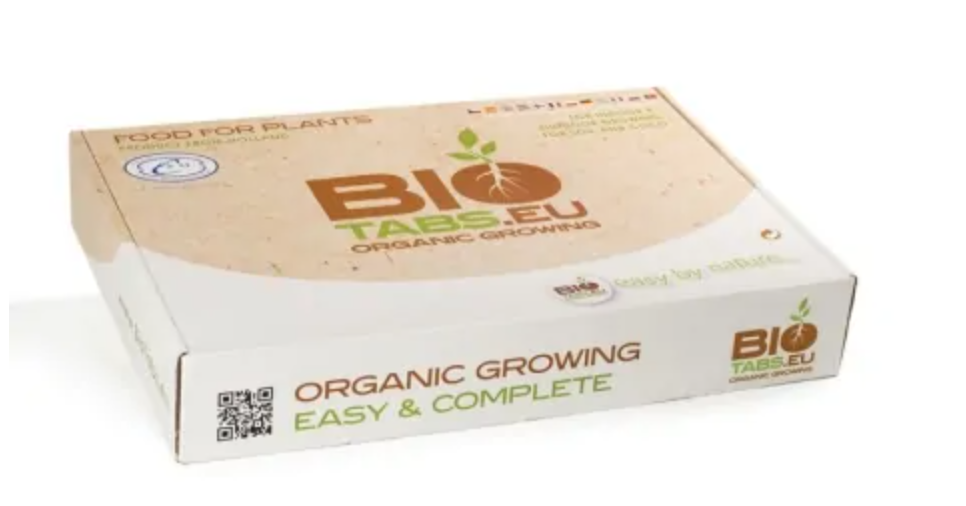
Lastly, you also need some soil to provide your plants the nutrients they need. Sirius’ philosophy for this is same as mine: we only sell organic plant food, no chemical soil or pesticides! This guarantees that your cannabis is free from toxins and fully natural.
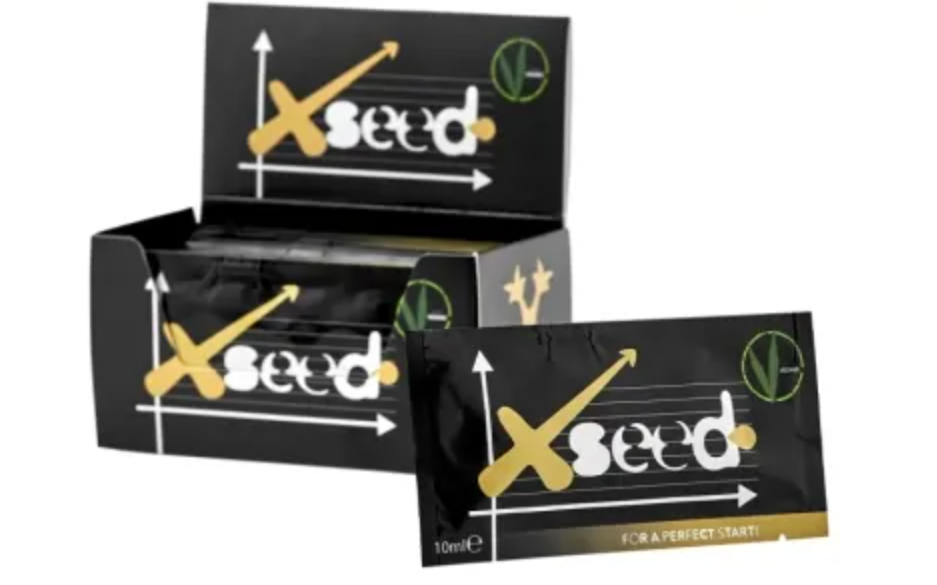
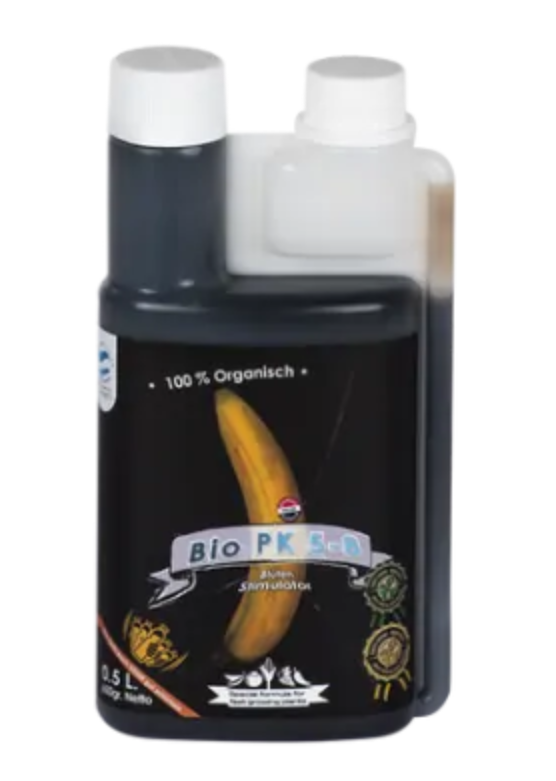
The Biotabs Starterpack is the perfect set for any beginning grower, containing 5 products that cover all phases of the plant’s life cycle. Additionally, I got myself some BAC X-Seed, to assure the best possible germination of the seeds, and the Biotabs Bio PK 5-8 bud-booster. While the products included in the biotabs starter kit are, in my opinion, absolutely necessary for a successful growth, the latter two are fully optional.
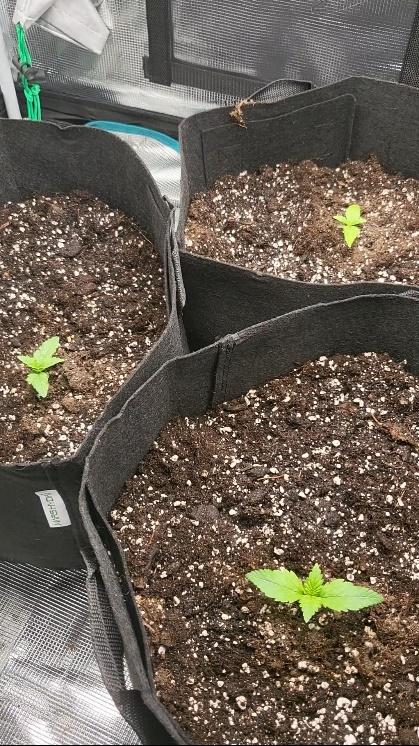
End of January: Germinating Seeds and preparing soil
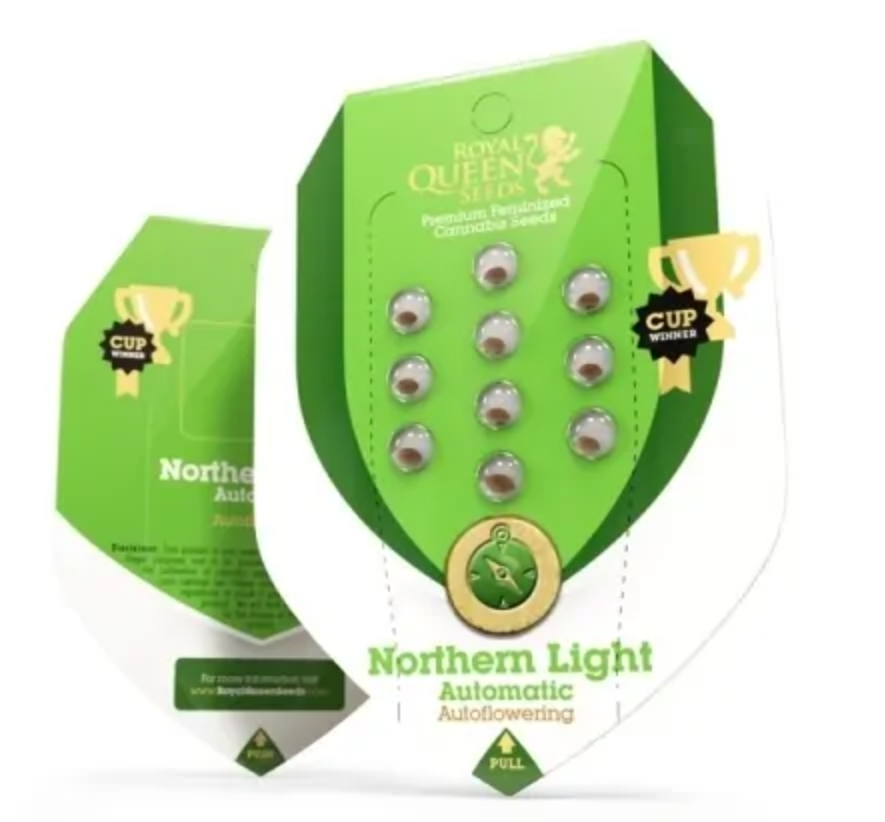
I received 3 seeds of Royal Queen Seeds Northern Lights Automatic, an autoflowering indica that produces compact buds after 3 months! I didn’t choose regular feminized seeds as I did not want to wait that long for my plants to be finished, and my grow tent is not big enough to hold a fully grown feminized plant anyway. With an autoflowering strain you can be sure to harvest your plants early, while still receiving a good yield!
I put my seeds into the BAC X-seed solution for 60 minutes, and then wrapped them into a wet papertowel, which I laid into an air-sealed ziplock. I sprayed some water inside these ziplocks every 1-2 days, and after around 6 days, my seeds were germinated!
If you want to read more about different methods of germination, check out this blog.

I prepared my soil according to the biotabs starter kit manual, adding startrex, mycotrex, biotabs, bactrex and orgatrex, and inserted the germinated seeds into a small hole I poked in the soil.
Finally, all the preparation is done! For now, I just have to water my plants every 1-2 days with 0,5 liters of water and wait for them to grow!
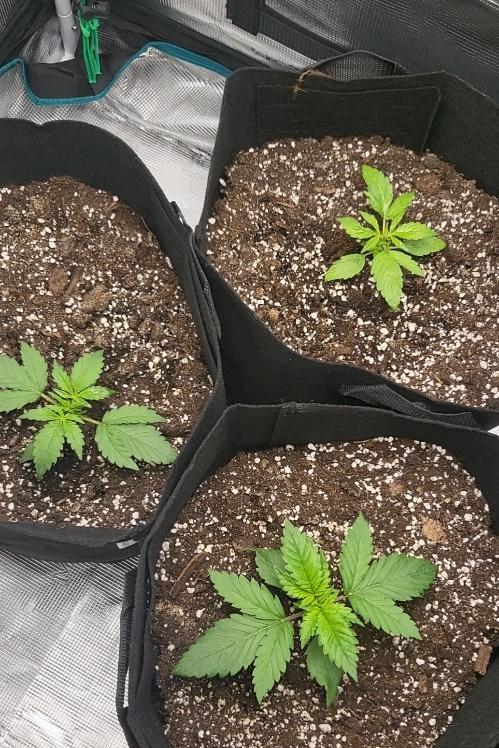
End of February: Start of blooming phase & first ‘hair-cut’
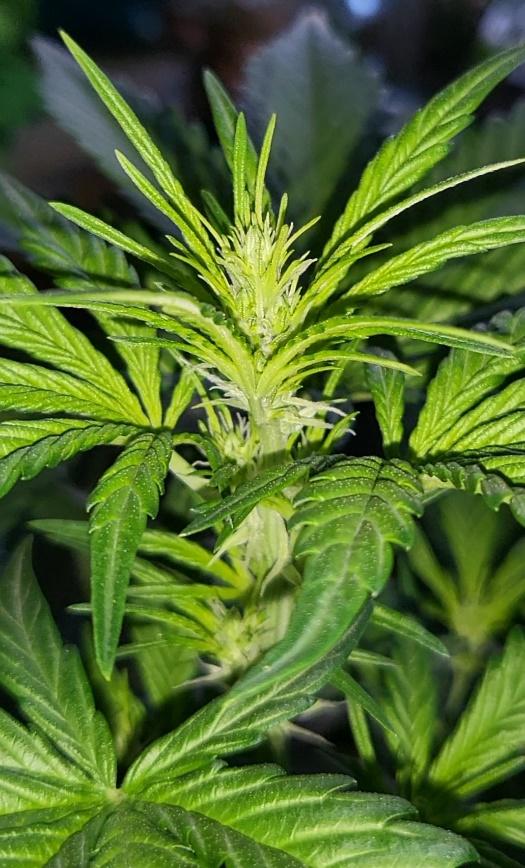
After around 1 month of steady growth, I could see the first little hairs appearing on my plants. This means the flowering phase started! At this time, I take all of my plants outside of the box and give them a little ‘hair-cut’.
This means that I am cutting of some of the leaves that are either too big, blocking of light for the bottom part of the plant, or to far down below, meaning they don’t receive any light anyway. With this strategy I hope that the plant utilizes all of its energy for developing big, juicy buds on the upper branches.
After this, I put the plants back inside the box, and continue watering them regularly. By now, the plants need around 1 liter every 1-2 days. During this phase, it is also really important to monitor the conditions inside of your grow tent. The temperature should be between 20 and 25C, and the humidity around 40%.
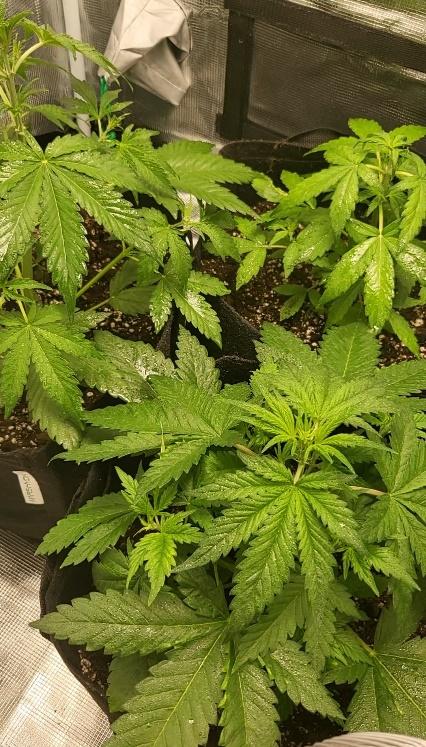
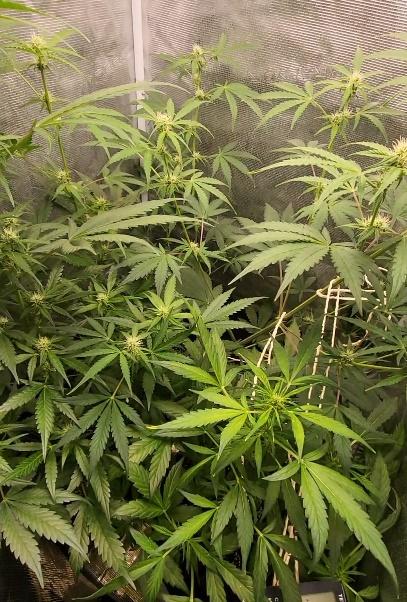
As you can see in some of the pictures above, the 3 plants I had grew in ways that were totally different from each other. This is most likely because they had different phenotypes. While it is not a big problem if the plants look different, them growing different adds a little challenge to the growing process: This is because the light should have the same distance to each of the plants. Because of this, I placed the smallest of my plants on some boxes, so that it's top is on the same height as the other ones.
Another problem with this is, that autoflowers start blooming when they are ‘big enough’, because of their ruderalis genetics. If one plant is bigger than the other one, it will start its flowering phase earlier, and will consequently be ready to harvest earlier. When I noticed this, I knew that I would have to harvest each of my 3 plants at different time points, which was not a problem for me.
After approximately 6 weeks (7 weeks for the slower plant), I started using the Biotabs PK-5-8 bud booster once per week, hoping that it increases the size and the qualities of my soon-to-be-ready cannabis buds. From the results that you will see in the next section, I assume that it did its job pretty well!
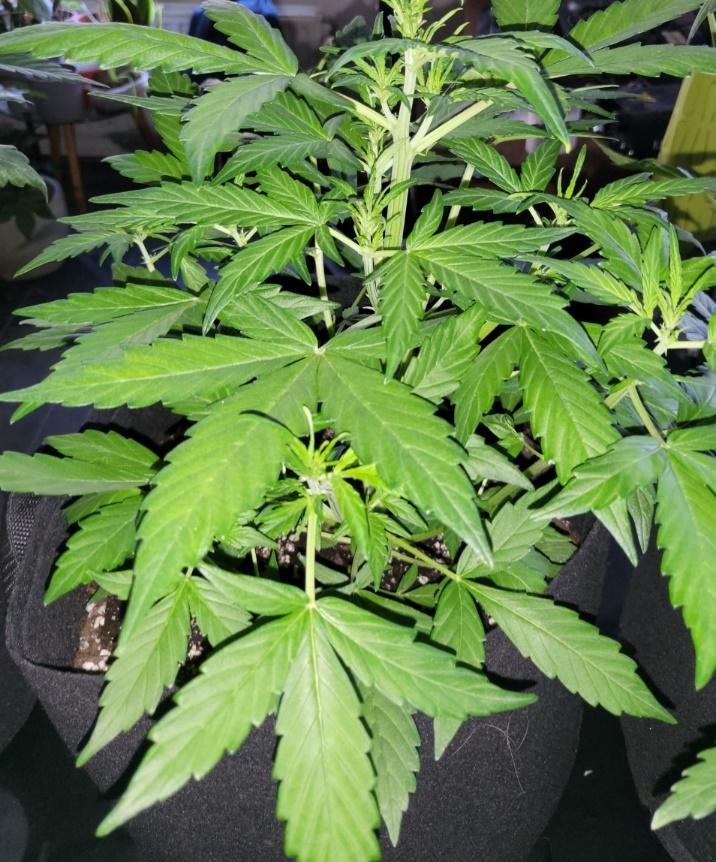
March & April: More growing and blooming
Eventually, my plants became so big that I needed to ‘expand’ my grow tent. I covered the walls next to the tent with some aluminum foil, so that the light is reflected onto the plants. Via this method, I could place my largest plant (which was also most closely to the point of being ready) further away from the light, while placing my smallest plant directly below the light.
Although this is not the optimal strategy, it worked well for me. I’m still a bit sad that one plant was significantly smaller than the other ones, because it decreases my total yield, but in the end, you can’t control everything about nature, and a plant is not a machine or a program that works just the way you want to. You have to treat nature with respect and love and not be disappointed if something doesn’t go completely as planned.


End of April: Harvest Time!
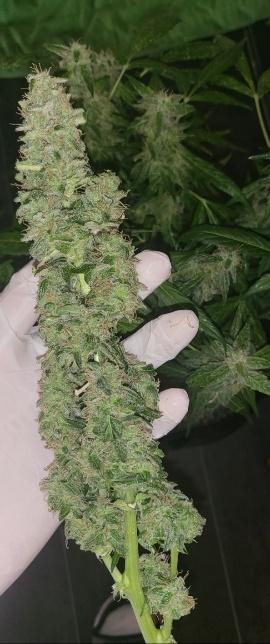
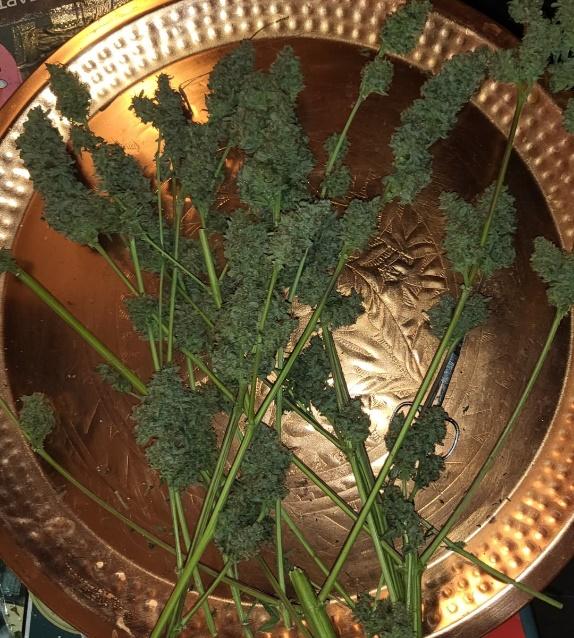
The day has finally come, and I can harvest the first plant! Like I expected, the plants were ready to be harvested at different time points. Before I start the harvest, I place one plant (the one that is ready) in a dark room for 48 hours, so that it uses all its remaining energy for producing THC.
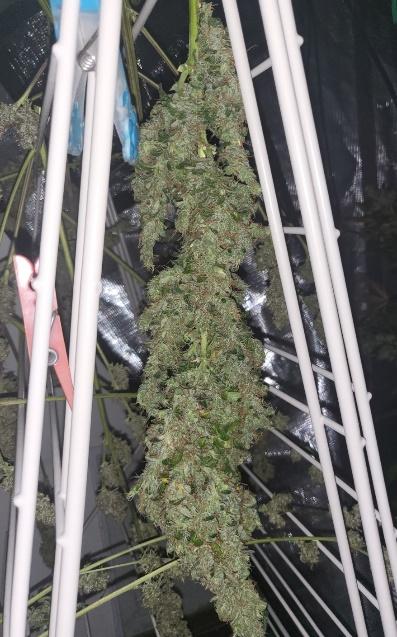
When all the leaves are yellow and hang down, I start to cut and trim the plant branch for branch, bud for bud. This turned out to be quite a long process (3 hours with 2 persons). When done, I dry the buds in a dark room, hanging downwards (I use a laundry drying rack and some cord strings for this). I repeated this process week after week for the remaining two plants, until I could eventually store all of the drying buds in my now darkened grow tent.
Great! Now I only have to wait 1 or 2 more weeks until the plants are ready to be cured!
May: Curing, weighing, and finally: Smoking my home-grown indoor weed!
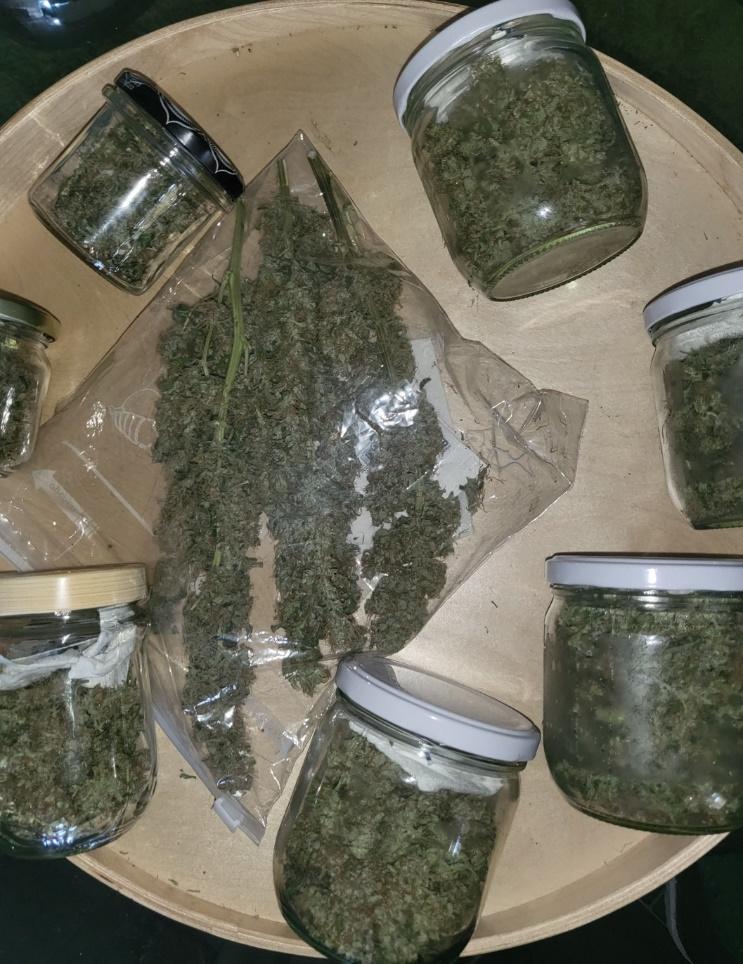
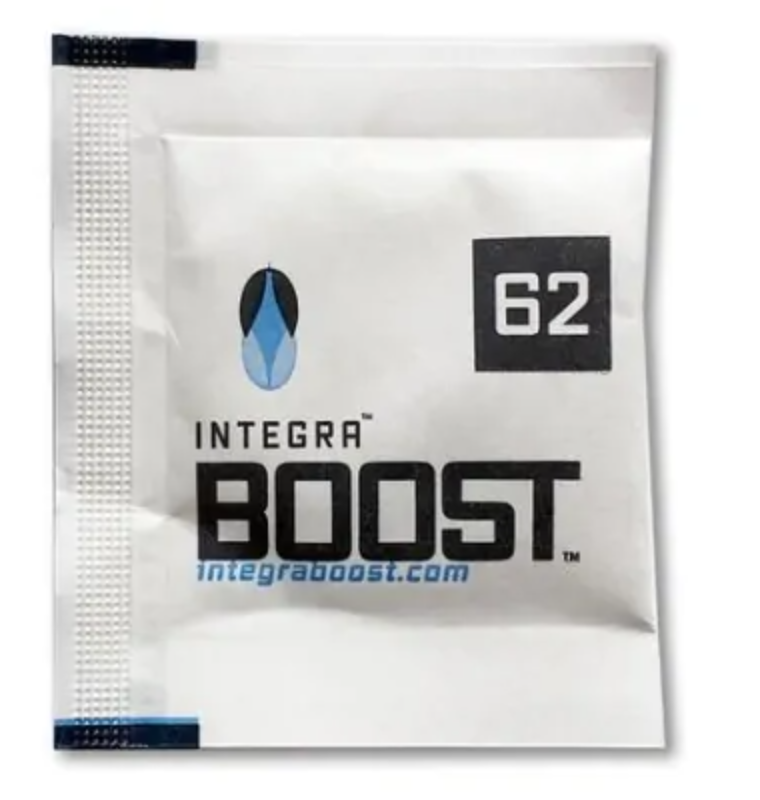
After I had to be patient once more, I finally could reward myself with the best part of every cannabis growing process: smoking my own homegrown, organic weed! After my cannabis has dried for exactly 14 days, I cut all small and big buds from their stem and fill them in multiple air-sealed glasses (one was not enough!). For each of the glasses I have an Integra Boost 62% package that serves the perfect humidity for the curing process.
I know that some people do not smoke their weed before they’ve cured it for at least a month, but I could not wait any longer. The first joint from my new weed was absolutely amazing, both in the taste and the effect. What I love most about homegrown cannabis is that it doesn’t ‘hit’ you that hard as weed from the coffeeshop, or even worse, a dealer. With my plants being of an indica strain I could enjoy a relaxing stoned-effect on my couch, just perfect before going to bed.
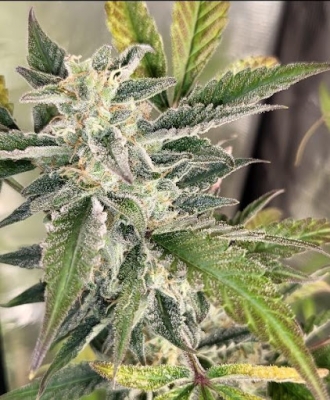
And what was the total yield? Well, I’m proud to say that out of my 3 plants I harvested a total of 102,7 grams! I know that there is still a lot of room for improvement, but for my first serious grow circle, I am more than happy. This stash should last at least all summer, saving me a lot of money!
If you want to read more about cannabis growing or related topics, make sure to check out the rest of Sirius’ Blogs. If you have any questions about cannabis seeds, the growshop or the growing process, make sure to contact our customer service!
Did you enjoy reading this article and do you like to write yourself? We are always looking for people who share our passion for natural products, who can also translate this into great texts. And we have an interesting reward for this. View all information for writers.
Ambient Q100+
Homebox Blog Cannabis
Cannabis as Medication: How I treat my Migiraine with Weed
For as long as I can remember, I have been burdened with migraines. It runs in the family. My grandfather had it and my mother has it too. So it was u [..]
20-09-2022
7 minutes
Blog Cannabis
Cannabis as Medication: How I treat my Migiraine with Weed
For as long as I can remember, I have been burdened with migraines. It runs in the family. My grandfather had it and my mother has it too. So it was u [..]
20-09-2022
7 minutes
 Blog CBD
The tastiest CBD Tea: relaxing effects of hemp tea
Relaxing in the evening with a delicious CBD tea is a healthy way to release stress and get ready for a good night's sleep. At Sirius Smartshop yo [..]
12-10-2021
9 minutes
Blog CBD
The tastiest CBD Tea: relaxing effects of hemp tea
Relaxing in the evening with a delicious CBD tea is a healthy way to release stress and get ready for a good night's sleep. At Sirius Smartshop yo [..]
12-10-2021
9 minutes
 Blog Smart Products
Q&A Sirius smartshop Maastricht and Roermond
For over 25 years Sirius has been the place to buy legal magic truffles, mushroom grow kits, cannabis seeds, CBD oil and much more. Do you like to exp [..]
Blog Smart Products
Q&A Sirius smartshop Maastricht and Roermond
For over 25 years Sirius has been the place to buy legal magic truffles, mushroom grow kits, cannabis seeds, CBD oil and much more. Do you like to exp [..]


 Nederlands
 Italiano
 Deutsch
 Français
 Português
 Español
 Polski